Jenkins Configuration (Start to End)
This guide covers the complete Jenkins configuration for CI/CD pipelines with Docker deployments.
Prerequisites (What You Should Have)
Before starting, verify you have:
- [x] Jenkins running
- [x] Pipeline job created
- [x] Builds are successful
- [x] Jenkins accessible via domain
- [x] Docker already running containers
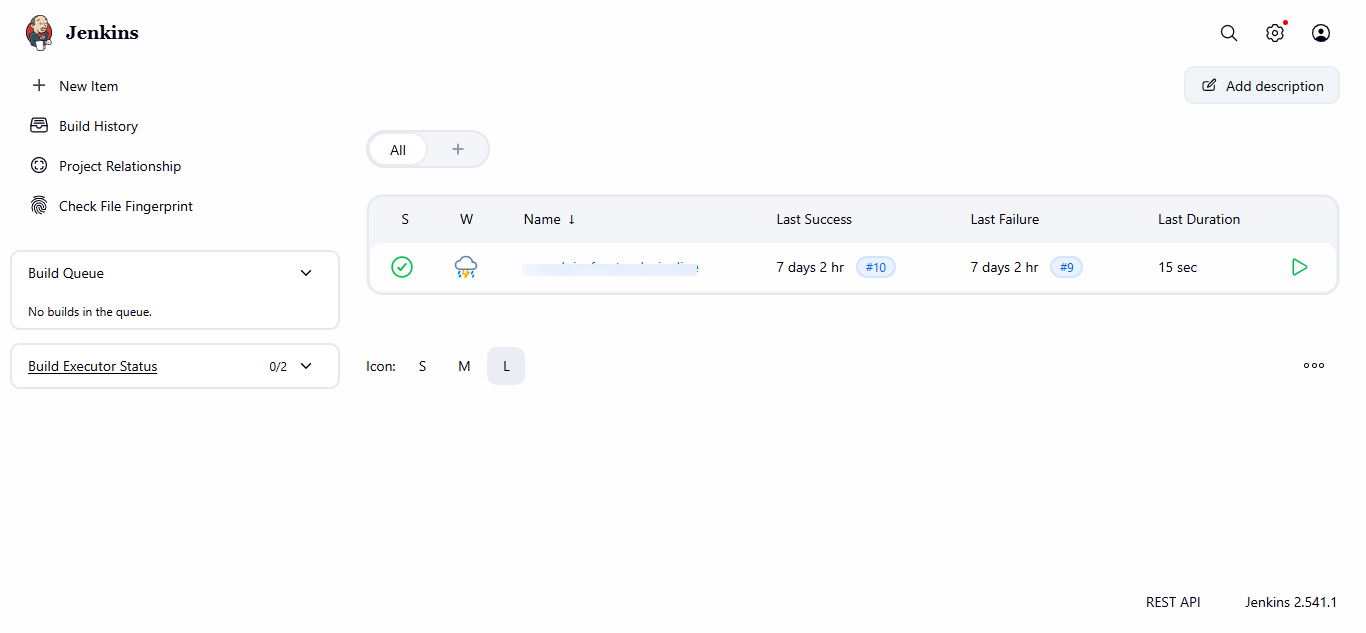
Your Jenkins dashboard should look like this:
Step 1: Global Jenkins Configuration
1.1 Configure Executors (Important for Performance)
Go to:
Manage Jenkins → Nodes → Built-In Node → Configure
Set:
# of executors: 2
Click Save
1.2 Git Configuration
Go to:
Manage Jenkins → Tools
Under Git installations:
| Field | Value |
|---|---|
| Name | Default |
| Path to Git | /usr/bin/git |
Click Save
Step 2: Required Plugins (Verify)
Go to:
Manage Jenkins → Plugins → Installed
Make sure these plugins exist:
- [x] Git
- [x] Pipeline
- [x] Docker Pipeline
- [x] GitHub Integration Plugin (recommended)
Tip
If any plugin is missing → Install it → Restart Jenkins.
Step 3: Credentials (For Private Repos)
Go to:
Manage Jenkins → Credentials → System → Global → Add Credentials
Configure:
| Field | Value |
|---|---|
| Kind | Username with password (or GitHub token) |
| ID | github-creds |
| Username | Your GitHub username |
| Password | Your GitHub token |
Click Save
Note
If your repository is public, you can skip this step.
Step 4: Jenkinsfile (Most Important)
Create a Jenkinsfile in your project's root directory:
pipeline {
    agent any

    environment {
        APP_NAME = "your-app-name"
        PORT = "3000"
    }

    stages {

        stage('Checkout Code') {
            steps {
                git branch: 'main',
                    url: 'https://github.com/YOUR_ORG/your-repo.git'
            }
        }

        stage('Build Docker Image') {
            steps {
                sh '''
                docker build -t $APP_NAME:latest .
                '''
            }
        }

        stage('Stop Old Container') {
            steps {
                sh '''
                docker stop $APP_NAME || true
                docker rm $APP_NAME || true
                '''
            }
        }

        stage('Run New Container') {
            steps {
                sh '''
                docker run -d \
                  --name $APP_NAME \
                  -p 3000:3000 \
                  --restart always \
                  $APP_NAME:latest
                '''
            }
        }
    }

    post {
        success {
            echo "✅ Deployment successful"
        }
        failure {
            echo "❌ Deployment failed"
        }
    }
}
Important
Commit and push this file to your repository before proceeding.
Step 5: Configure Pipeline Job
Open your job:
your-pipeline-name → Configure
In the Pipeline section, configure:
| Field | Value |
|---|---|
| Definition | Pipeline script from SCM |
| SCM | Git |
| Repository URL | Your repo URL |
| Credentials | github-creds (if private) |
| Branch | main |
| Script Path | Jenkinsfile |
Click Save
Step 6: Build & Verify
Trigger Build
Click Build Now
Verify Console Output
Open Console Output and verify each stage:
- [x] Code checkout
- [x] Docker build
- [x] Old container stopped
- [x] New container running
Verify on Server
docker ps
You should see:
your-app-name Up 0.0.0.0:3000->3000
Step 7: Access Application
Open in browser:
http://SERVER_IP:3000
Or if Nginx is configured:
http://frontend.yourdomain.com
Step 8: Auto Deploy with Webhook
Configure GitHub Webhook
Go to your GitHub repository:
Repo → Settings → Webhooks → Add webhook
Configure:
| Field | Value |
|---|---|
| Payload URL | https://jenkins.yourdomain.com/github-webhook/ |
| Content type | application/json |
| Events | Push |
Click Save
Now every git push will automatically trigger Jenkins deployment!
Step 9: Optional - Nginx + SSL
Recommended production flow:
Domain → Nginx (443 SSL) → localhost:3000
Nginx Configuration
Create /etc/nginx/sites-available/frontend:
server {
    listen 80;
    server_name frontend.yourdomain.com;

    location / {
        proxy_pass http://localhost:3000;
        proxy_http_version 1.1;
        proxy_set_header Upgrade $http_upgrade;
        proxy_set_header Connection 'upgrade';
        proxy_set_header Host $host;
        proxy_set_header X-Real-IP $remote_addr;
        proxy_set_header X-Forwarded-For $proxy_add_x_forwarded_for;
        proxy_set_header X-Forwarded-Proto $scheme;
        proxy_cache_bypass $http_upgrade;
    }
}
Enable the site:
sudo ln -s /etc/nginx/sites-available/frontend /etc/nginx/sites-enabled/
sudo nginx -t
sudo systemctl reload nginx
Install SSL with Certbot
sudo apt install certbot python3-certbot-nginx -y
sudo certbot --nginx -d frontend.yourdomain.com
Final Checklist
| Task | Status |
|---|---|
| Jenkins via Docker | ✅ |
| Pipeline configured | ✅ |
| Docker build & run | ✅ |
| Auto-deploy ready | ✅ |
| Domain accessible | ✅ |
| SSL configured | ✅ |
Troubleshooting
Jenkins can't access Docker
docker exec -it jenkins bash
docker ps
If permission denied, run:
docker exec -u root jenkins chmod 666 /var/run/docker.sock
Build fails at checkout
- Verify repository URL is correct
- Check credentials if repo is private
- Ensure branch name matches
Container not starting
Check logs:
docker logs your-app-name
Your Jenkins CI/CD pipeline is now fully configured!