Deploy Laravel Application On Shared Hosting
Introduction
Here you will learn how to install laravel on any hosting .
Step 1 Buy domain name and hosting
First you have to buy domain name and hosting . There are many hosting provider available. I will use godaddy hosting.
Step 2 Login to your hosting
After you buying the hosting , you will search for cpanel option, click on manage option .

Step 3 Manage cpanel
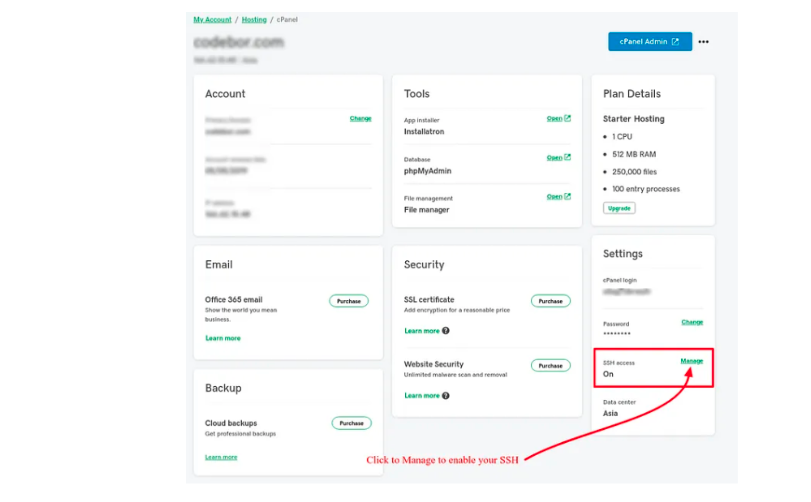
After clicking on manage option , you will redirect to this page.
Step 4 SSh credential
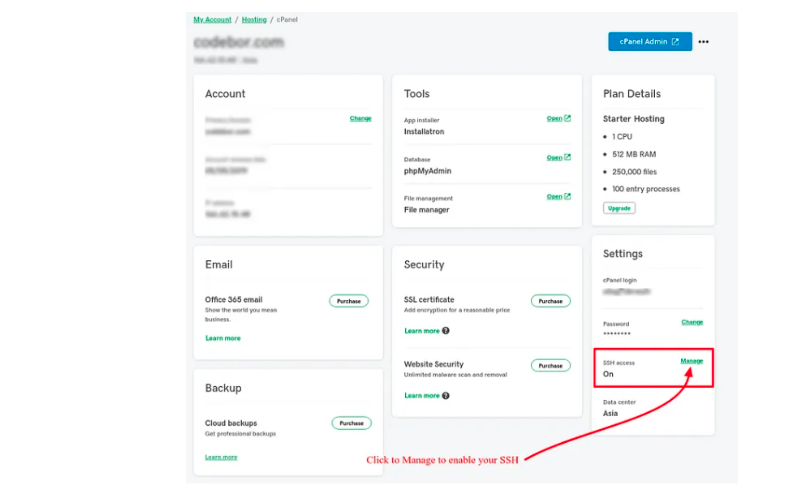
On this page you see many options , now we are enable to SSh option , which is showing at button-right side . To connect the SSH you need to HOST, USERNAME and PASSWORD,
Step 5 Connect with ssh
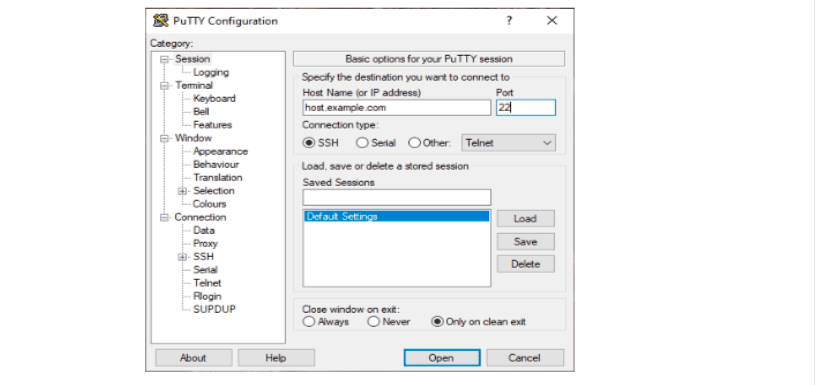
If your are using window then you can connect with by Putty and if you using ubuntu linux then use terminal.
$ SSH username@ip_address
Then you have to enter password which is same as Cpanel account password . In case window system -:
In case linux system-:

Step 6 Check php configuration
First we have to check latest php is install or not , to do this we can use command
$ php -v

We are using latest version of php for our laravel version 9.
If yes then you can proceed and if not install then you have to install it by using command -:
$ sudo apt install php
Step 7 Install composer
After connection with SSH , You have to install composer on server. To install latest of composer you have to run these 4 commands
$ php -r "copy('https://getcomposer.org/installer', 'composer-setup.php');"
$ php -r "if (hash_file('SHA384', 'composer-setup.php') === '544e09ee996cdf60ece3804abc52599c22b1f40f4323403c44d44fdfdd586475ca9813a858088ffbc1f233e9b180f061') { echo 'Installer verified'; } else { echo 'Installer corrupt'; unlink('composer-setup.php'); } echo PHP_EOL;"
$ php composer-setup.php
$ php -r "unlink('composer-setup.php');"
Step 8 Composer configuration
After run these commands composer will install and you can verify it by run
$ composer --version
Output will be this

Step 9 Install fresh laravel
To install new setup for laravel project , you have to run this command
$ composer create-project --prefer-dist laravel/laravel blog
It will installed fresh laravel 9 setup .
Step 10 Upload local setup on server
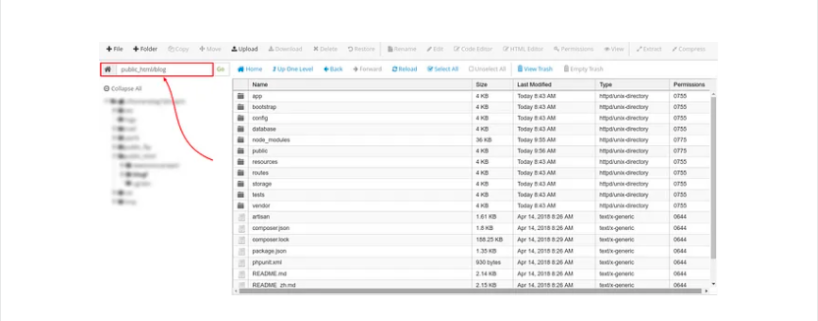
If you have already made laravel project on local , then you have to made zip and upload it on server .
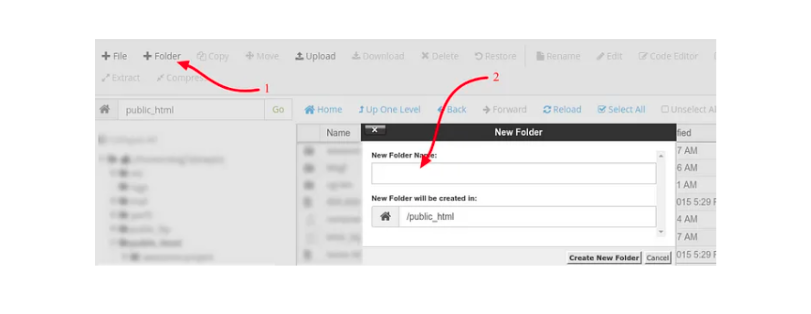
Create a new folder in public_html , rename it as your project’s zip name like blog
Upload and extract zip
Step 11 Setup .htcccess file
Now when you hit domain like www.blog.com it will show HTTP Error 403 — Forbidden error. To fix this , you have to create the .htaccess file in your public_html folder and add these line in it .
RewriteEngine On RewriteCond %{REQUEST_URI} !^blog RewriteRule ^(.*)$ blog/$1 [L]
In case your project name is different then you can replace ‘blog’ with your own project name.
Step 12 Setup database
Now create db in phpMyadmin

Step 13 Run migration and create table
Now Update the DB credentials in .env file in project folder. After that run command
$ php artisan migrate
It will create tables in database .
Step 14 Setup node
If you want to install node on server then we can run these commands in SSH-:
$ wget -qO- https://cdn.rawgit.com/creationix/nvm/master/install.sh | bash
run this command in order to be able to use-:
$ export NVM_DIR="$HOME/.nvm" [ -s "$NVM_DIR/nvm.sh" ] && . "$NVM_DIR/nvm.sh" [ -s "$NVM_DIR/bash_completion" ] && . "$NVM_DIR/bash_completion"
Step 15 Install npm package
Then you can install node by -:
$ npm install node
Then you can hit www.blog.com and site is deployed on server..